Connect your app to Azure Cosmos DB Emulator on Docker. PART 2

In this article we are going to focus on how to connect our application to the Cosmos DB Emulator from Docker. This article is continuation of the Part 1 of this series. I suggest to read it first before continue, because this part is based on previous one.
Add Docker support to our application
Before we continue we need to add Docker support to our application we created in Part 1 of this article.
- Right click on our application project.
- In the menu select Add option.
- Select Container Orchestrator Support… option
- In Container Orchestrator drop-down select Docker Compose.
- Click Ok button.
- Select Linux as Target OS.
The Visual Studio generates for us Dockerfile and creates Docker-Compose project.
Add CosmosDB emulator
In Part 1 we created docker-compose.yml that starts emulator, lets create a similar one in our newly created Docker-compose project.
- Right click on
Docker-composeproject. - In the menu select Add option.
- Select New item… option.
- Create
ymlfile with namedocker-compose.vs.debug.yml - Copy/past following content from previous article
version: '3.4'

services:

  azure.cosmosdb:
    image: mcr.microsoft.com/cosmosdb/linux/azure-cosmos-emulator
    container_name: azure.cosmosdb
    environment:
       - AZURE_COSMOS_EMULATOR_PARTITION_COUNT=5
       - AZURE_COSMOS_EMULATOR_ENABLE_DATA_PERSISTENCE=true
    ports:
       - 8081:8081
       - 10251:10251
       - 10252:10252
       - 10253:10253
       - 10254:10254
You can find more details about this weird compose file naming here . Basically, this particular file give us ability to run startup scripts during development, and allow us to keep our
Dockerfileclean from any development related scripts.
Connect Application on Docker
To connect application, we need to do the same steps we did in Part 1 on Linux, but do it on Docker
- Start simulator
- Download and install certificate inside of our application container
Update connection string
Lets update emulator connection string in our application by replacing localhost:8081 to azure.cosmosdb:8081.
The
azure.cosmosdbname is the service name we gave to our emulator in docker compose file above.
var context =
    new ServiceCollection()
        .AddCosmos<CosmosDbContext>(
            connectionString: "AccountEndpoint=https://azure.cosmosdb:8081/;AccountKey=C2y6yDjf5/R+ob0N8A7Cgv30VRDJIWEHLM+4QDU5DE2nQ9nDuVTqobD4b8mGGyPMbIZnqyMsEcaGQy67XIw/Jw==",
            databaseName: "CosmosDb")
        .BuildServiceProvider()
        .GetRequiredService<CosmosDbContext>();
Now we need to configure a host name for our emulator (by default docker assigns a random value). When emulator starts it adds its host name (as domain name) to the generated certificate. Our application will connect to emulator using azure.cosmosdb host name and certificate validation logic validates it against that host name.
Updated emulator service host name
Open docker-compose.vs.debug.yml and set emulator service hostname to azure.cosmosdb
  azure.cosmosdb:
    image: mcr.microsoft.com/cosmosdb/linux/azure-cosmos-emulator
    hostname: azure.cosmosdb
    # ...
Download & Install certificate
As mentioned above to successfully connect our application to emulator we need to install certificate inside of our application container. Lets create a bash script that downloads certificate when our application starts and updates certificate authority registry.
sleep 5 \
&& apt-get update && apt-get install -y curl \
&& curl -k https://azure.cosmosdb:8081/_explorer/emulator.pem > /usr/local/share/ca-certificates/azure.cosmosdb.crt \
&& update-ca-certificates
What this script is doing:
- sleeps for 5 seconds, it is needed only for the first time when we start our application and emulator simultaneous, to give emulator time to generate certificate.
- Installs
curlthat is used to download certificate. - Downloads certificate to
ca-certificatesfolder. - Updates certificate authority registry.
Now lets configure compose file to run script above before our application. Add following content to docker-compose.vs.debug.yml file
  cosmosdbtest:
    entrypoint: sh -c 'sleep 5 && apt-get update && apt-get install -y curl && curl -k https://azure.cosmosdb:8081/_explorer/emulator.pem > /usr/local/share/ca-certificates/azure.cosmosdb.crt && update-ca-certificates && tail -f /dev/null'
    depends_on:
      - azure.cosmosdb
where:
- cosmosdbtest: it is our application service name that can be found in the
docker-compose.ymlfile. - entrypoint: this is docker entrypoint that runs our script before our application.
- depends_on: make sure our application starts after emulator, but it does not guarantee that emulator fully started that is why we added 5 sec delay.
NOTE: If you do not use Visual Studio and do not take advantage of
docker-compose.vs.debug.ymlfile, you need to create a bash script with content above and modify yourDockerfileto run this script before your application start.
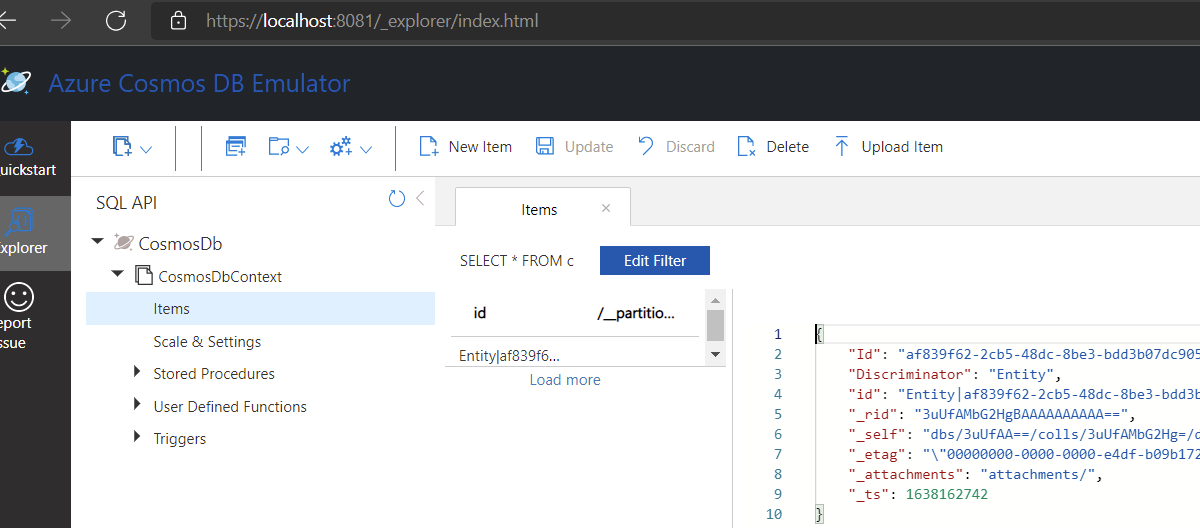
Now lets test that everything is working
- Set
Docker-composeproject as startup project. - Hit
F5. - Check result on the emulator portal
NOTE: Install certificate to your system following instructions from Part 1 to prevent browser to show security warning.
Possible Issues
The debug adapter exited unexpectedly.
Check your application log file.
- It could be issue with downloading
curl. - Also it could be that 5 second delay was not enough. Just restart application and do not restart emulator.
Cannot find container to attache debugger
Most likely it could be that 5 second delay was not enough. Just restart application and do not restart emulator.
Source Code
The sample application for this article you can find here .